- Your cart is empty
- Continue Shopping
How to Remove Tile Grout
-
By Dailywatchupdates
- Posted on
- 0 comments
- Home Improvement
Tile grout, that stuff wedged between your tiles, is a key player in keeping your floors and walls intact. But, over time, it can get pretty gross—discolored, cracked, or downright moldy. So, what’s a homeowner to do? Well, fear not! I’m here to walk you through the not-so-daunting task of removing tile grout and giving your tiles a new lease on life.
What is Tile Grout?
Alright, let’s start with the basics. What exactly is tile grout? It’s that cement-based filler that snugly fits between your tiles, providing support and keeping moisture at bay. Sounds important, right? Absolutely! But, like anything, it needs a little TLC now and then to keep it in top shape.
Signs of Grout Damage
How do you know when it’s time to tackle that grout? Look out for signs like discoloration, cracks, or, heaven forbid, mold growth. If you spot any of these, it’s time to roll up your sleeves and get to work.
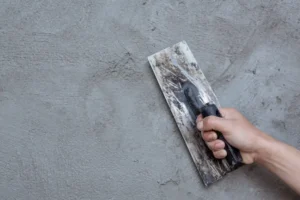
Tools and Materials Needed
Before you dive in, gather your gear. You’ll need a grout saw, scraper, brush, and cleaner, and don’t forget your safety gear—gloves and goggles are a must!
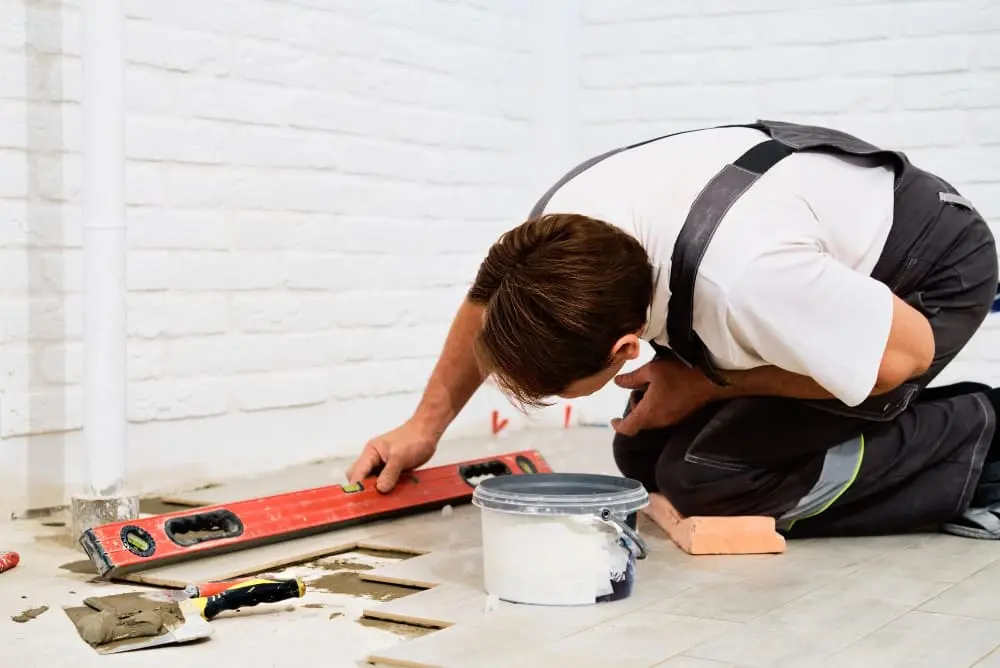
Preparation
Alright, let’s set the scene. Clear the area, make sure you’ve got good airflow, and protect any nearby surfaces from accidental damage.
Methods for Grout Removal
Now, onto the main event—how to get rid of that pesky grout. You’ve got options: go old school with manual removal using a saw or scraper, opt for a chemical cleaner, or harness the power of steam.
Step-by-Step Process
Depending on your chosen method, follow the steps carefully. Whether you’re wielding a saw, scrubbing with cleaner, or letting steam work its magic, take it slow and steady.
Tips for Safe and Effective Removal
Safety first! Work in small sections, make sure you’re breathing clean air, and protect yourself from any chemical fumes or flying debris.
Aftercare
Once the grout is history, give the area a thorough clean-up. You want to make sure there’s no leftover gunk hanging around. And hey, consider sealing that freshly cleaned grout to keep it looking spick and span for longer.
Preventive Measures
To avoid future grout nightmares, make regular cleaning a habit. And hey, if you’re feeling fancy, seal that grout for extra protection.
Alternative Solutions
Not up for the grout-removal challenge? No worries! There are other options, like grout paint pens or renewal products, that can give your tiles a facelift without all the elbow grease.
Conclusion
And there you have it—your guide to removing tile grout like a pro. With a little patience and the right tools, you can say goodbye to grime and hello to gleaming tiles once again.